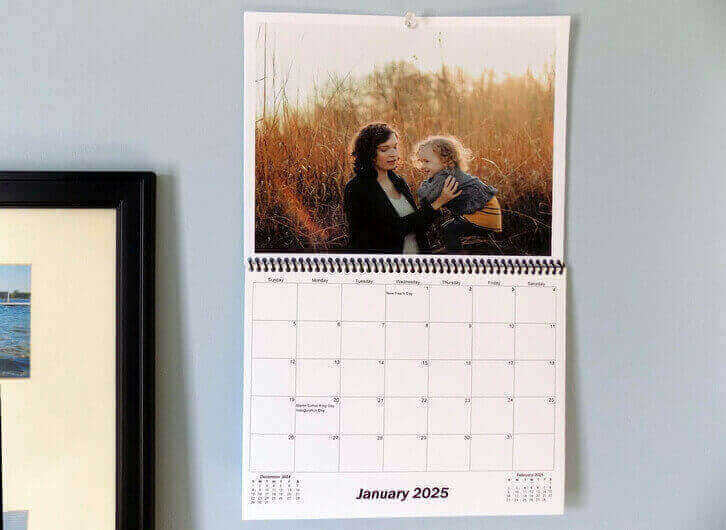
Calendar Photo: Unsplash/Shelby Deeter
12-Month Photo Printable Calendar Template for Microsoft® Excel®
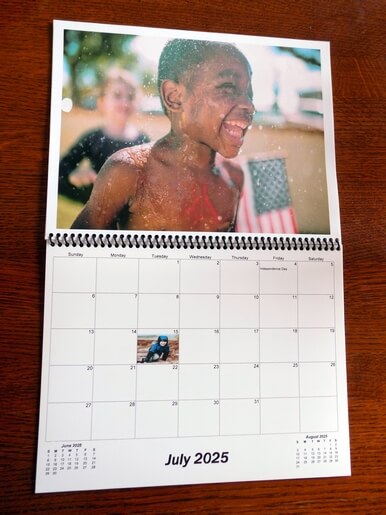
This template lets you download a printable 12 month photo calendar which you can then customize and add photos to using Microsoft Excel spreadsheet software.
Features and Customization Options
- Each file contains 25 pages: 1 cover page, 12 pages for photos, and 12 monthly calendar pages
- Microsoft® Excel® format (Requires Microsoft Excel)
- Multi-year access (Create calendars for 2026, 2027, or any other year, 1 AD - 10,000 AD)
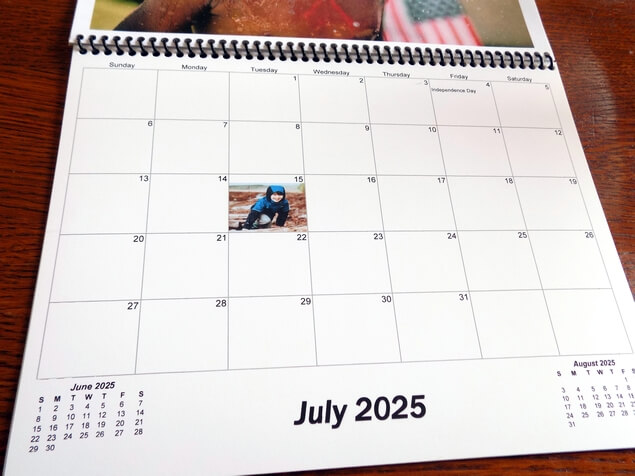
- Add your events, change font/grid colors, and add pictures
- Holidays (US, Canada, UK, and Australia)
- Letter and A4 paper sizes
- Custom start day of the week
- Multiple language support (English, Español, Deutsch, Français, Italiano, Danish, and Nederlands)
Back-to-back printing instructions
Below are instructions for printing out your personalized double-sided 12-month photo calendar.
Excel 2007 (Windows) and Excel 2008 (Mac) users, click here for pre-print formatting instructions.
- 1. Print the front pages
- With your Microsoft Excel calendar file open and quality photo paper inserted in your printer, select the first 13 tabs of the Excel workbook (do this by holding down the SHIFT button, then click the Cover tab, then the December tab). Next, click File->Print to open the Print dialog. Set page range to "All", set print what to "Active sheet(s)", and click OK to print.
- 2. Sort the front pages according to your printer's page order
- After your front pages have printed, note which page was printed out last.
If the Cover was printed last: take the December page out and set aside. Then sort the stack so that the November page is on the top and the cover page is on the bottom.
If December was printed last: take the December page out and set aside. Then sort the stack so that the Cover page is on the top and the November page is on the bottom.
If a different page printed last: your printer isn't printing in expected order, so you will need to either print the back photos one-by-one, or change your Printer Properties' page order to 'Front to Back' or 'Back to Front' and test print the Cover thru December tabs. If they print in order, you can continue following the instructions above and below.
- 3. Rotate and reinsert the stack of page fronts
- Insert the sorted stack into your printer, rotated 180 degrees so that the photos are correctly printed on the backs.
- 4. Print the back pages
- In Excel, select all 12 of the photo page tabs (hold the SHIFT button and select the January photo tab, then the December photo tab). From the Print dialog, set 'page range' to "All", set 'print what' to "Active sheet(s)", and click OK to print.
- 5. Bind and your photo calendar is finished!
- Make sure your stack is in the correct order. If you have the materials and tools for binding, you can do it yourself, or bring it to your local printer for finishing. Printers like Staples and FedEx Office can usually have it bound and finished in a few minutes for just a couple of dollars.
Microsoft Excel help:
Print a worksheet or workbook
Inkjet paper from Staples:
Epson® High Quality Inkjet Paper, Matte Finish
Excel tips
To break a line, press Alt-Enter at the end of each line of text.
To insert a picture, first select your square, then select Insert->Picture->From File. Find your picture, then drag and resize to fit your square.