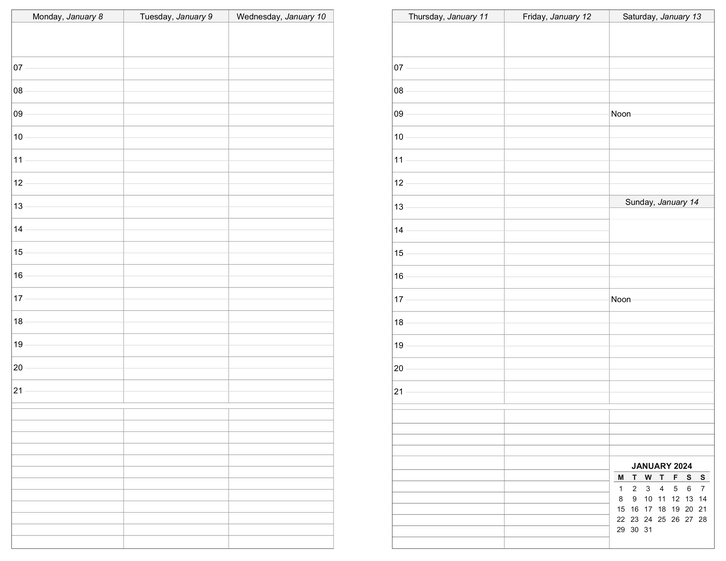
Weekly Planner Printable Planner Template
Each week is split across 2 pages with space at the bottom for notes. Choose from four different paper sizes. Optionally include events from your web calendar and holidays. Save money on store-bought planner refills.
You must be logged in to download this calendar.
If you do not have an account, you can sign up for full access to CalendarsQuick which lets you download calendars for any week, month, or year.
Features and Customization Options
- Adobe® PDF format (Requires Adobe Acrobat Reader)
- Microsoft® Excel® format (Requires Microsoft Excel)
- Multi-year access (Create calendars for 2024, 2025, or any other year, 1 AD - 10,000 AD)
- Customizable start day (any day, Sunday through Saturday)
- PDF Only: Customizable start hour (any hour, 12am through 9am)
- Double-sided printing support (Scroll down for instructions)
- Include your schedule & repeating events
- Import events from your Google Calendar account
- Include your holidays & special occasions (birthdays, anniversaries, etc.)
- Portrait orientation
- Batch downloads (download all weeks for a month or year in one file)
- Multiple paper size options (Personal, Classic, Letter, A4) Learn more about paper sizes
- Multiple language support (English, Español, Deutsch, Français, Italiano, Danish, and Nederlands)
Double-Sided Printing Instructions (PDF)
Check the "Sort pages for double-sided printing" option to download a file containing weekly planner pages for one month or one year sorted for back-to-back printing where each week is spread across two pages.
- Before printing
- The instructions below are intended as a general-purpose guide for modern inkjet and laser printers. If you have an older model printer, or one that grabs extra sheets while printing, or one that prints in reverse order by default, these instructions may not work for you without adjustments. Depending on the issue, you are encouraged to either set your printer to "forward order printing" or print only one month at a time.
- 1. Print the front pages
- From Adobe Reader, click File->Print to open the Print dialog.
If you are printing to Personal or Classic size paper: set your page range to "All".
If you are printing to Letter or A4 size paper: set your page range to "Pages:" leaving the full range in the box.
Then change Subset to "Odd pages only", uncheck the "Reverse pages" option, and click OK to print.
- 2. Print the back pages
- When the odd pages have printed, insert the stack into your printer so that the backs will be printed. From the Print dialog, make sure your print range is set to "All" or "Pages" (according to Step 1) and change Subset to "Even pages only". Check the "Reverse pages" box, then click OK to print (be sure to uncheck the Reverse pages box after printing).
- 3. Sort and bind your weekly planner
- Sort your planner pages, cut (if using Personal or Classic size), and bind. Your custom planner is ready to use!