Using the Web Calendar
Click the Schedule link at the top right to access your web calendar. Here you can add text and repeating events that will appear in your schedules and in the printable calendars you download.
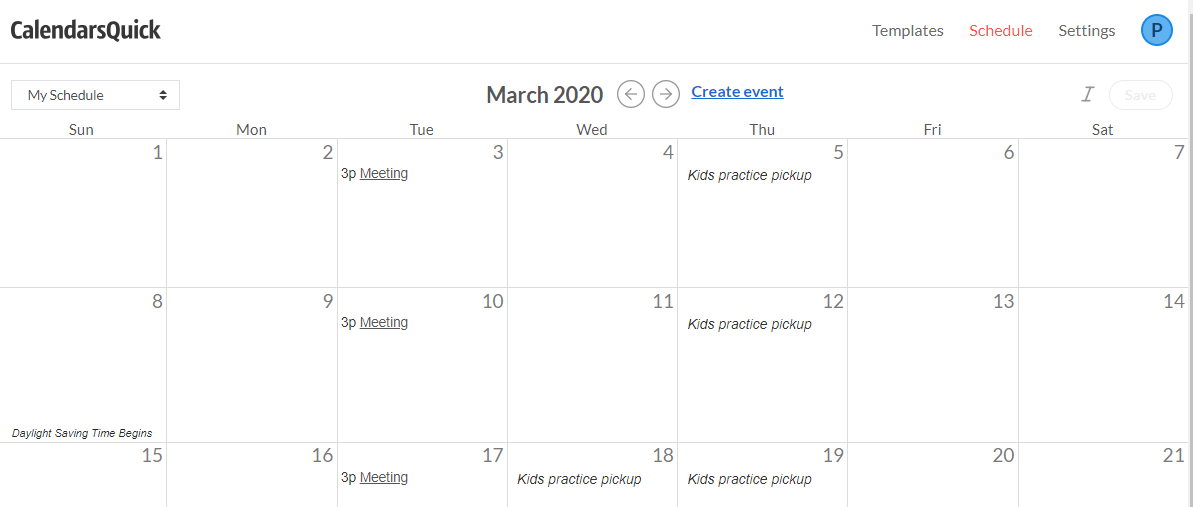
You can enter events into your web calendar in one of two ways:
- Text-only events can be typed directly into the top, middle, and bottom-aligned boxes for each date
- Regular events can be created using the Create event link. This kind of event can be set to repeat for a specified duration and lets you attach notes and email reminders.
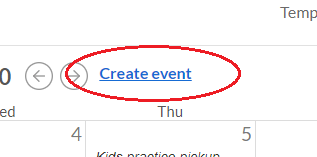
Create a repeating event
From the Schedule link, click the Create event link.
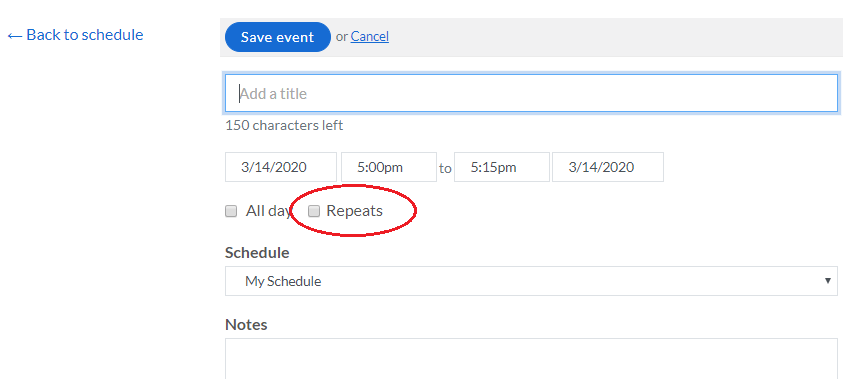
From the new event page, fill in your event information, then click the Repeats checkbox.
The Repeats dialog offers a variety of repeating options.
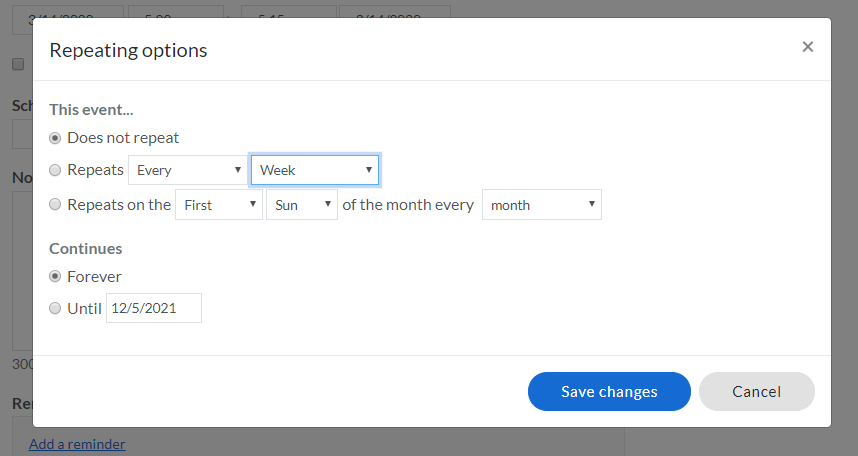
You can select how your event will repeat and whether it continues infinitely or until a specified end date. Click the Save changes button in the dialog, then click the Save event button. Your event is now saved and will display in your web calendar as well as in the calendars you download for printing (when you select the Include schedules option).
Create an exception in an event series
You can remove or edit an individual event in a series by editing any instance of the event in the web calendar. When you click the Save event button, a dialog will ask whether the changes should be applied to only the individual event, the event and all following events in the series, or all events in the series.
Create multiple schedules
CalendarsQuick lets you create up to 5 schedules if needed. To create a schedule, click the Settings link at top, then the "My schedules" link at left. On the My Schedules page, find the "Create a new schedule" field and enter a name for your new schedule. Click the "Create schedule" button.
Once you have multiple schedules, you can toggle between them on the My Schedule page, as well as choose which one to include in your downloaded calendar files.

Sharing your web calendar
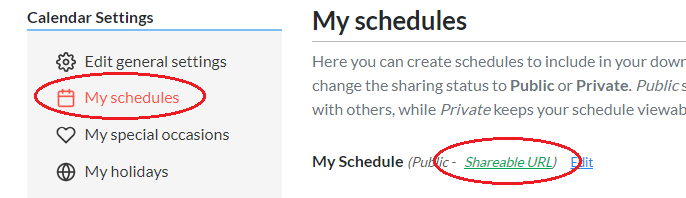
You can share a read-only version of your online schedule with others by changing an account setting. Click the Settings link at top right, and click on the My schedules link on the left. From the My Schedules page, click the Edit link next to the schedule you want to share and change the Viewing type to Public (read-only). You will now see a green link titled Shareable URL which you can copy and paste into an email or desktop shortcut for sharing with others.
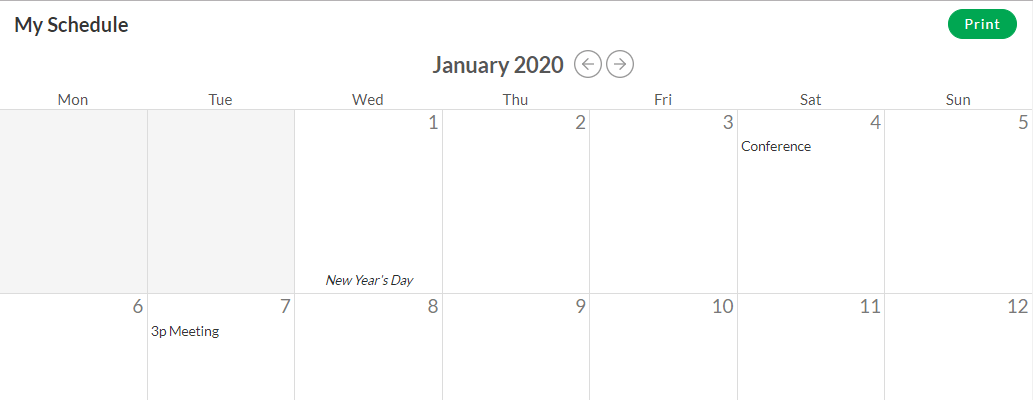
The title of your schedule along with all of the events in that schedule will be displayed in the published calendar (example shown in screenshot below). If you have holidays and special occasions enabled under Settings > My holidays, then those will be included on your public calendar as well.
If you'd like to have a public calendar but not expose all your special occasions on it, you can create a separate occasions group. To do this, follow the Settings link at top right, and click on the My special occasions link on the left. Click Manage occasion groups and add your events to it. Finally, click on the My schedules link on the left, click the Edit link next to your Public schedule, and select the special occasion group to assign to it. Then, only that group will show in your public calendar.
Importing events from Google Calendar
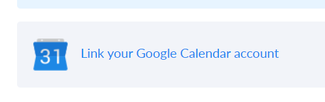
You can import calendars from your Google Calendar account as schedules to be included in your printable calendars. To do this, click the Settings link at top right, and click on the My schedules link on the left. From the My Schedules page, click the Link your Google Calendar account link at bottom.
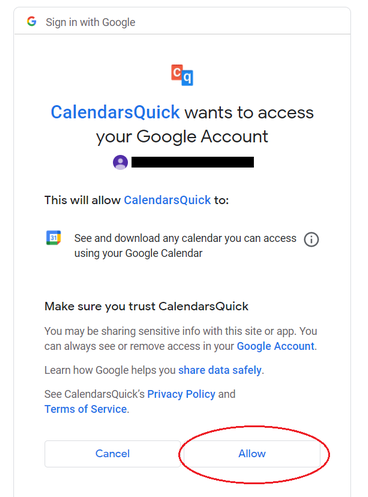
This will take you to a Google page shown below. Click the Allow button to allow CalendarsQuick read-only access to your Google calendars.
After your Google Calendar account is linked to CalendarsQuick, the Google Calendars you own will be available as schedules to include in your printable calendar downloads.