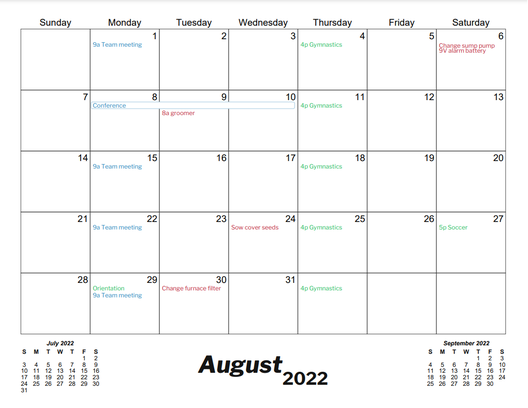
Setting up and printing multiple schedules
You can create separate color-coded CalendarsQuick schedules to include in your PDF calendar printouts. Multiple calendars from your Google Calendar account can also be included. The Excel calendars allow multiple schedules however there is no color-coding.
1. Create a CalendarsQuick schedule
After logging in, go to the Settings link at top right, then click the My schedules link at left.
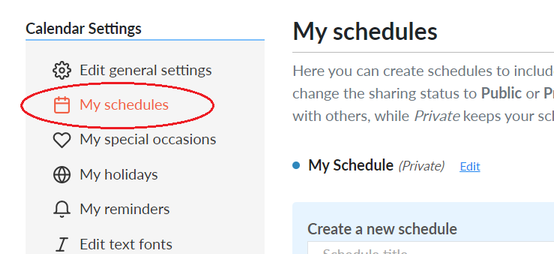
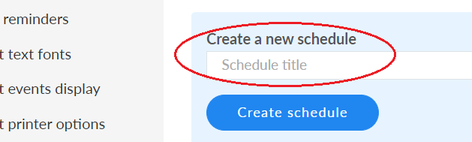
Enter your schedule name and click the Create schedule button.
Once your schedule is created, you can click the Edit link to change the color and other settings.

You can also link your Google Calendar to include those events in your printable calendars.
2. Change how your events appear
Under Settings, click the Edit events display link at left.
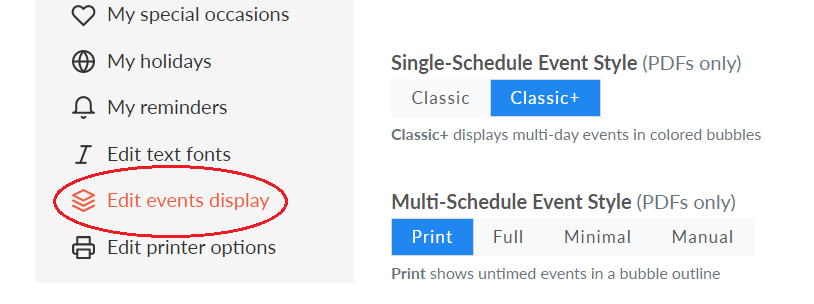
Single-Schedule
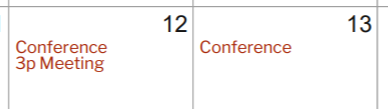
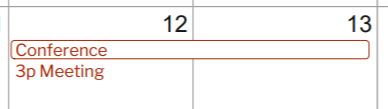
For single schedules, you can set whether multi-day events show in a bubble (Classic+), or whether the event text repeats each day (Classic). These options both use the fonts and font colors you set on the Settings > Edit text fonts page.
Classic
Classic+
Multi-Schedule
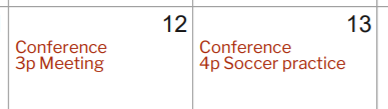
For multiple schedules, if you want all-day and multi-day events to show in bubbles, select either the Print option or the Full option for filled-in bubbles. The Print option is recommended for lower ink usage.
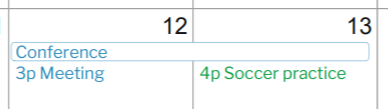
Full

Minimal has no bubbles and uses the color of each schedule for all middle events. Manual has no bubbles and uses the defined Middle lines font color from the account settings for all middle events. If the fonts/colors are changed in the download form, those override the account settings.
Minimal
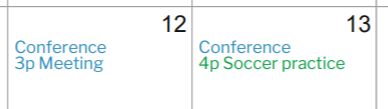
Manual
Note: all events in the top and bottom lines still use the defined Top and Bottom line colors, rather than the Schedule color.
3. Choose your template and download
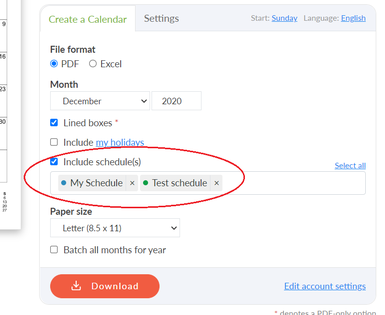
Next, go to your calendar download form, check the Include schedule(s) option, select one or more schedules, and download.
4. Review your calendar
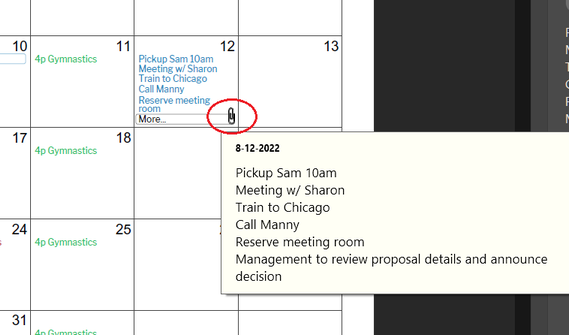
In Adobe Reader: With your PDF calendar open, you will see your events shown according to your display style. When there are too many events to fit in a box, a "More..." line will display along with a PDF Annotation shown as clickable paperclips.
Note: Boxes with paperclip annotations will not display all text for that day when you print your calendar. You will need to trim your text down, include less schedules, and/or adjust the font size to ensure it all fits.
5. Print your calendar
Your calendar (with schedules) is ready to print. For best print quality use a DPI setting of 600 or greater.